Prepare the virtual network environment
In this tutorial, you learn to:
- ✅ Create a virtual network with 3 subnets
- ✅ Create a private DNS zone and link it to the virtual network
- ✅ Create an API Management instance
Create the virtual network
As the first step, we create a virtual network with 3 subnets.
- Open Azure Portal, click Resource Groups.
- Click Add to add a new resource group.
- Give the resource group a name, e.g.
apim-rg, and choose a region such as East US. Click Review + create button, and then click Create. - When the resource group is create, click Go to resource group to open it.
- On the resource group page, click Add to add a new resource.
- In the search box, input
Virtual Network, click it from the dropdown and click Create. - Give the virtual network a name, e.g.
apim-vnet, and choose the same region of the resource group. Click Next: IP Addresses. - Input CIDR for IPv4 address space, such as
172.17.0.0/16, and add the following 3 subnets.
| Subnet name | Subnet address range |
|---|---|
| apim-subnet | 172.17.0.0/24 |
| appgw-subnet | 172.17.1.0/24 |
| aks-subnet | 172.17.2.0/24 |
- Click Review + create and then click Create to create the virtual network.
Configure the Private DNS Zone
When you deploy API Management in a virtual network in Internal mode, all its service endpoints are only visible within the virtual network. The default domain name of API Management, azure-api.net, which is managed by Azure, cannot be used to access the service endpoints anymore. As API Management service only responds to requests to the host name configured on its service endpoints and it does not listen to requests coming from IP addresses, you need to configure custom domain names for the endpoints, and therefore need a DNS service in the virtual network to manage the custom domain names.
In the tutorials, we use a Private DNS Zone to manage the custom domain names.
- In Azure Portal, go to the apim-rg resource group. Click Add to add a new resource.
- In the search box, input
Private DNS Zone, click it on the dropdown and click Create. - Make sure apim-rg is selected as the resource group.
- Input a top level domain name for Name. For example, we use
contoso.netfor it in the tutorials. - Click Review + create and then click Create to create the zone.
- When the zone is created, click Go to resource to open it.
- Click Virtual network links and then click Add to link it to the virtual network.
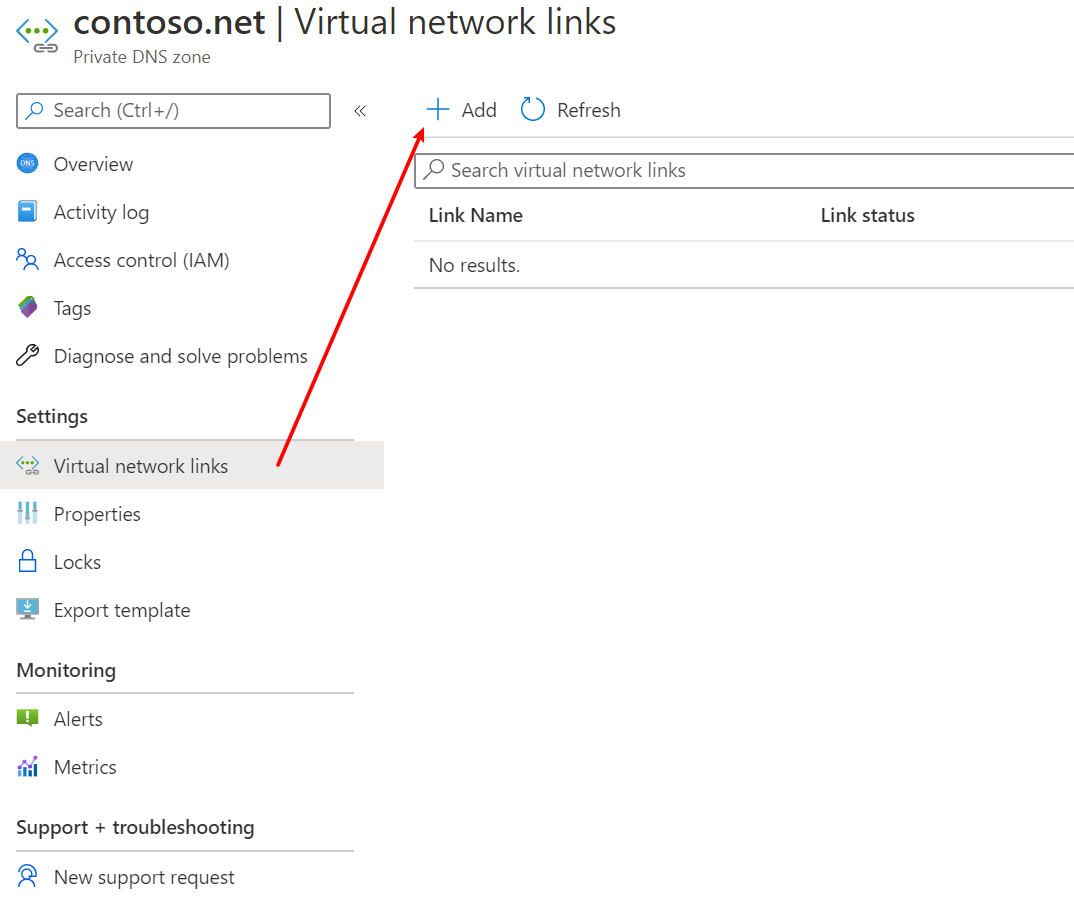
- Give the link a name, e.g.
apim-vnet-link, chooseapim-vnetand check Enable auto registration. Click OK.
Create the API Management instance
In the apim-rg resource group, create an API Management instance. For more details, please see Create a new Azure API Management service instance.
Please make sure you choose East US for the region which is the same as the virtual network, and choose either Developer or Premium for the Pricing tier. Only these two tiers support the virtual network integration.
When the APIM instance is created, all steps in this tutorial are completed. Let's move to the next one.